


Introduction
Owning a VPS server is great, but transferring files to it via the terminal (SFTP) can be cumbersome. How about turning your cheap server into a convenient cloud drive (like Google Drive or Dropbox) that you can operate 100% from your web browser?
Enter FileBrowser – an incredibly lightweight file manager. It works blazingly fast, doesn't require a domain name (you can just use your IP address), and uses so few resources that it runs perfectly on even the cheapest Budget VPS from our lineup!
Step 1: Quick Launch via Docker
Log into your server via terminal. Running FileBrowser comes down to one simple command. Paste the code below and press ENTER:
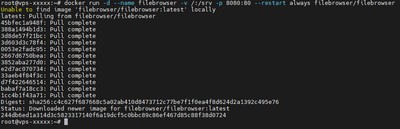
docker run -d --name filebrowser -v /:/srv -p 8080:80 --restart always filebrowser/filebrowser
What exactly does this command do?
-p 8080:80exposes the dashboard on port 8080.-v /:/srvgives the app access to your server's entire root file system, allowing you to browse and edit absolutely any system file through your browser!
Step 2: First Login to your Drive
That's it for the terminal! Now open your web browser and enter your server's IP address along with port 8080:
http://SERVER_IP_ADDRESS:8080
You will see a clean, minimalist login screen.
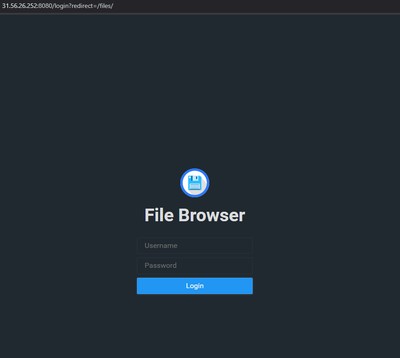
To log in, use admin as the username. In modern versions of FileBrowser, there is no static default password for security reasons.
Your one-time temporary password was auto-generated. To find it, go back to your terminal and run:
docker logs filebrowser
Look for a line mentioning the randomly generated password in the logs. Copy it and use it to log in.
Step 3: Changing the Default Password (Important!)
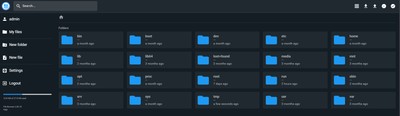
Right after logging in, you must secure your drive so no one else can access your files. Click on the Settings tab in the left-hand menu, and then go to the Profile Settings section.
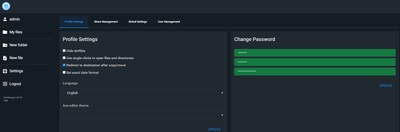
Enter a new, strong password, confirm it, and click the "Update" button. Your private drive is now fully secure.
Step 4: Uploading and Sharing Files
You can now do whatever you want with your drive. In the top right corner, you'll find buttons to create new folders, upload files, and even create empty text files that you can edit directly in the browser!
By selecting any file, you can click the Share icon to generate a special link. You can send this link to a friend so they can download the file directly from your server without needing an account.
Conclusion
FileBrowser is a "must-have" for any private server. It uses a fraction of a percent of RAM and offers massive convenience for managing files in Linux. Use this solution on your new Premium VPS and forget about using clumsy FTP programs!