The LAMP stack is the undisputed grandfather of open-source web hosting. For decades, it has been the most reliable, thoroughly documented, and widespread foundation for hosting dynamic web applications like WordPress, Drupal, and Joomla.
LAMP stands for four components:
- Linux: The operating system (Ubuntu or Debian).
- Apache: The incredibly robust, highly customizable web server.
- MySQL: The most popular relational database management system.
- PHP: The server-side scripting language handling the backend logic.
Compared to the newer LEMP (Nginx) stack, LAMP remains universally beloved because Apache processes PHP dynamically natively (no need to configure external FPM sockets) and relies on highly flexible .htaccess files for easy, per-directory configuration overrides.
Step 1: Install Apache (The Web Server)
Before installing any software, always update your local package indexes so you are downloading the latest security patches.
sudo apt update
sudo apt upgrade -y
Now, install the Apache web server (the package is named apache2 on Debian/Ubuntu systems):
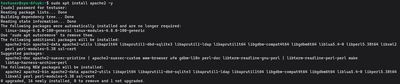
sudo apt install apache2 -y
If you are running the ufw firewall (which you should be, per our Security Guide), you need to allow Apache traffic to pass through. You want to open both HTTP (Port 80) and HTTPS (Port 443).
sudo ufw allow 'Apache Full'
To verify your web server is alive, type your server's public IP address into your favorite web browser (http://your_server_ip). You should see the default "Apache2 Ubuntu Default Page".
Step 2: Install MySQL (The Database)
Your server can serve static HTML now, but to store application data (like user accounts, blog posts, and settings), you need a database.
Install the official MySQL server:
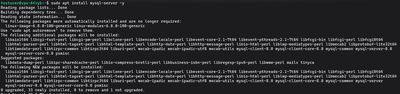
sudo apt install mysql-server -y
Once the installation finishes, the database is running but its default configuration is dangerously open. You must lock it down using the interactive security script:
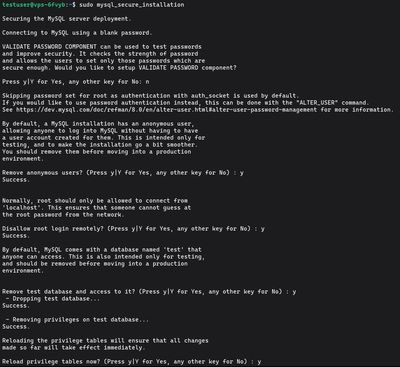
sudo mysql_secure_installation
You will be asked several questions to configure the security profile:
- Validate Password Plugin: Type
yif you want MySQL to actively block weak passwords, ornto skip it. - Remove anonymous users: Type
y. - Disallow root login remotely: Type
y(root should only ever access the database from inside the server). - Remove test database: Type
y. - Reload privilege tables: Type
y.
MySQL is now secure.
Step 3: Install PHP
You have a web server and a database, but they cannot communicate with each other yet, nor can they process dynamic code. You need PHP.
For Apache, installing PHP requires three main packages: the core php package, the php-mysql extension allowing PHP scripts to talk to your database, and the vital libapache2-mod-php package, which magically binds PHP processing directly into the Apache runtime.

sudo apt install php libapache2-mod-php php-mysql -y
Step 4: Configure Apache Index Priorities
When a user visits a directory on your website (like yoursite.com/blog/), Apache automatically looks for a default "index" file to serve. By default, it looks for index.html first, and if it doesn't find it, it eventually looks for index.php.
For dynamic applications, we want Apache to prioritize index.php.

Open the dir.conf file in the nano text editor:
sudo nano /etc/apache2/mods-enabled/dir.conf
It will look like this:
<IfModule mod_dir.c>
    DirectoryIndex index.html index.cgi index.pl index.php index.xhtml index.htm
</IfModule>
Move the index.php string from the middle of the list directly to the first position, immediately after DirectoryIndex, so it looks like this:
<IfModule mod_dir.c>
    DirectoryIndex index.php index.html index.cgi index.pl index.xhtml index.htm
</IfModule>
Save and exit nano.
Whenever you alter Apache's configuration modules, you inherently must restart the web server for the changes to take effect:
sudo systemctl restart apache2
Step 5: Test the LAMP Stack
Your environment is complete! However, the golden rule of system administration is to verify your work. We are going to write a tiny PHP script to prove that Apache can process dynamic code.
Create a new file in Apache's default web root directory:
sudo nano /var/www/html/info.php
Paste the standard initialization function:
<?php
phpinfo();
?>
Save the file. Open your web browser and navigate to http://your_server_ip/info.php.
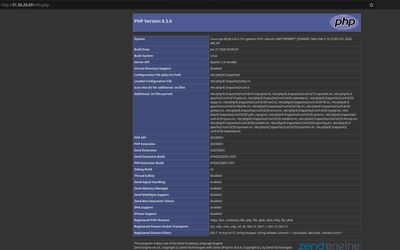
If the installation was successful, you will be greeted by a massive, highly detailed table detailing your PHP version, installed modules, memory limits, and Apache integration settings.
Critical Security Warning: The info.php page contains an extensive roadmap of your internal server architecture. Leaving this file public is a massive security risk. Once you have confirmed the stack works, delete the file immediately:
sudo rm /var/www/html/info.php
Congratulations! You have successfully built a tried, tested, and rock-solid foundation for hosting on Linux. Do you have a heavy e-commerce site, forum, or high-traffic blog ready to launch? Pair your new LAMP stack with one of our high-tier Premium VPS environments or a highly cost-effective Budget VPS, install a free SSL via Certbot, and build the ultimate web experience.